Quick answer
Start by learning the tell, move out of the attack lane, then spend your damage during recovery. Bargrisar rewards patience after his ground attacks; Saenathra is easier when the group clears pressure from her spiders; ranged attacks and adds shape the Wulfrun/Carn Dûm Captain fight; and Agandaûr is a sequence rather than one stationary duel. These are encounter priorities, not difficulty rankings.
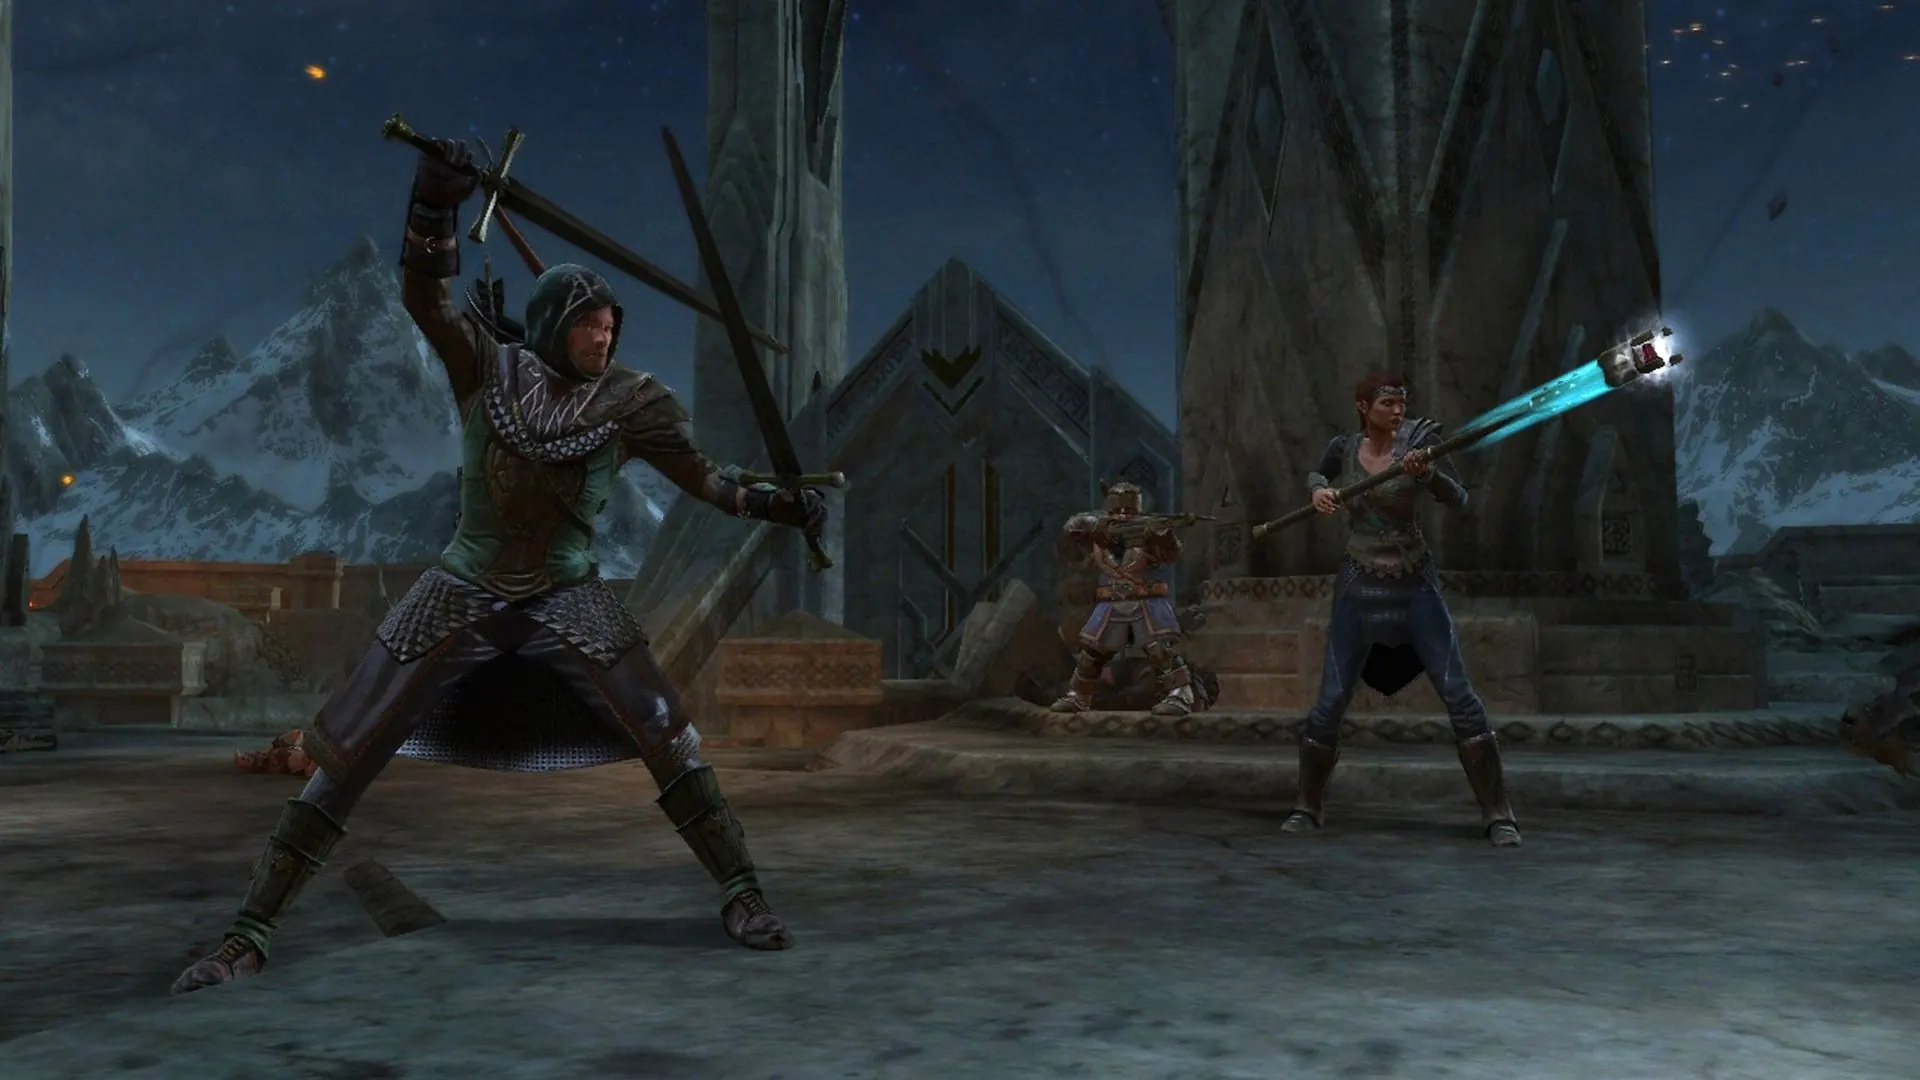
Major War in the North boss encounters at a glance
| Encounter | Story area | What to watch | First response |
|---|---|---|---|
| Tharzog | Fornost | Heavy close-range swings and nearby Orc pressure | Keep an escape lane; punish a committed swing, then reset. |
| Barrow-wight | Barrow-downs; recurring fights | Fast approach and overlapping enemies | Avoid being boxed in; focus one threat and regroup. |
| Barrow-wight Lord | Barrow-downs | A tougher wight encounter with adds | Clear space, watch the approach, and use recovery windows. |
| Bargrisar | Ettenmoors | Broad ground attacks and shockwave pressure | Move clear of the stomp, then attack during recovery. |
| Saenathra | Heart of the Web | Lunge or grapple pressure while spiders crowd the party | Spread enough to avoid shared pressure; remove nearby spiders. |
| Wulfrun / Carn Dûm Captain | Carn Dûm | Ranged fire attacks, repositioning, and adds | Break line of pressure, clear adds, then close in safely. |
| Orc-Champion | Siege of Nordinbad | A close-range champion with supporting enemies | Do not trade hits in a crowd; create space before committing. |
| Agandaûr | Carn Dûm Citadel finale | A multi-part final sequence, including a Fire-hammer Troll phase | Treat each transition as a new phase; reposition before attacking. |
| Úrgost | Story conversation | A route decision rather than a standard required boss duel in the cited walkthrough | Read the dialogue choice and route context; do not plan around a guaranteed fight. |
Start by learning the tell, move out of the attack lane, then spend your damage during recovery. Bargrisar rewards patience after his ground attacks; Saenathra is easier when the group clears pressure from her spiders; ranged attacks and adds shape the Wulfrun/Carn Dûm Captain fight; and Agandaûr is a sequence rather than one stationary duel. These are encounter priorities, not difficulty rankings.
How to read boss attack patterns
A boss fight is easier to parse when you separate three moments: the tell, the attack lane, and the recovery. A tell is the animation or pause that warns you what is coming. The lane is the space the attack will cover, which may be a line, a short arc, or a wider ground effect. Recovery is the brief time after the move when the enemy is less able to answer your hit. Watch the boss before you commit a long combo; moving early usually costs less than trying to block or trade through an attack.
The older PS3 guide used for several named encounters describes moves such as stomps, shockwaves, lunges, grapples, and fireballs. Treat those labels as route notes, not frame-perfect instructions for every platform or difficulty. Enemy spacing, party companions, camera angle, and control layout can change how a tell feels. If a move catches you repeatedly, stop attacking for one cycle, observe its direction, and then choose a safer side-step or retreat. A clean dodge followed by one short punish is more repeatable than chasing a full damage window.
The major fights and their useful opening
Tharzog and the Orc-Champion are useful reminders that an armored or powerful enemy can be more dangerous when ordinary enemies remain alive. Do not stand still trading blows just because the named foe is in front of you. Pull the group away from clutter, let the champion finish a committed swing, and use the opening to land a short sequence. Against recurring Barrow-wights, avoid letting several approach from different sides: turn toward the closest pressure, clear a path, and regroup before the next wave closes in.
Bargrisar's Ettenmoors encounter is described in the source guide around ground impact and shockwave pressure. Leave the marked space instead of trying to finish a slow attack animation; once the movement ends, hit the exposed target and move back out. Saenathra combines a dangerous approach with spider pressure, so a party that only focuses the large target can lose control of the arena. One hero can draw attention while another clears nearby spiders, but keep enough distance that a lunge or grapple does not punish a clustered group.
The Wulfrun or Carn Dûm Captain section calls for attention to ranged fire attacks, movement, and added enemies. Use cover or distance to make the attack direction legible, then remove a nearby add if it is interrupting every approach. Agandaûr should be read as a final sequence with changing pressures, including a Fire-hammer Troll phase noted in the route material. Recheck the arena after every transition. The Troll phase is part of that finale; this guide does not count it as a separate main-route boss solely to inflate a boss total.
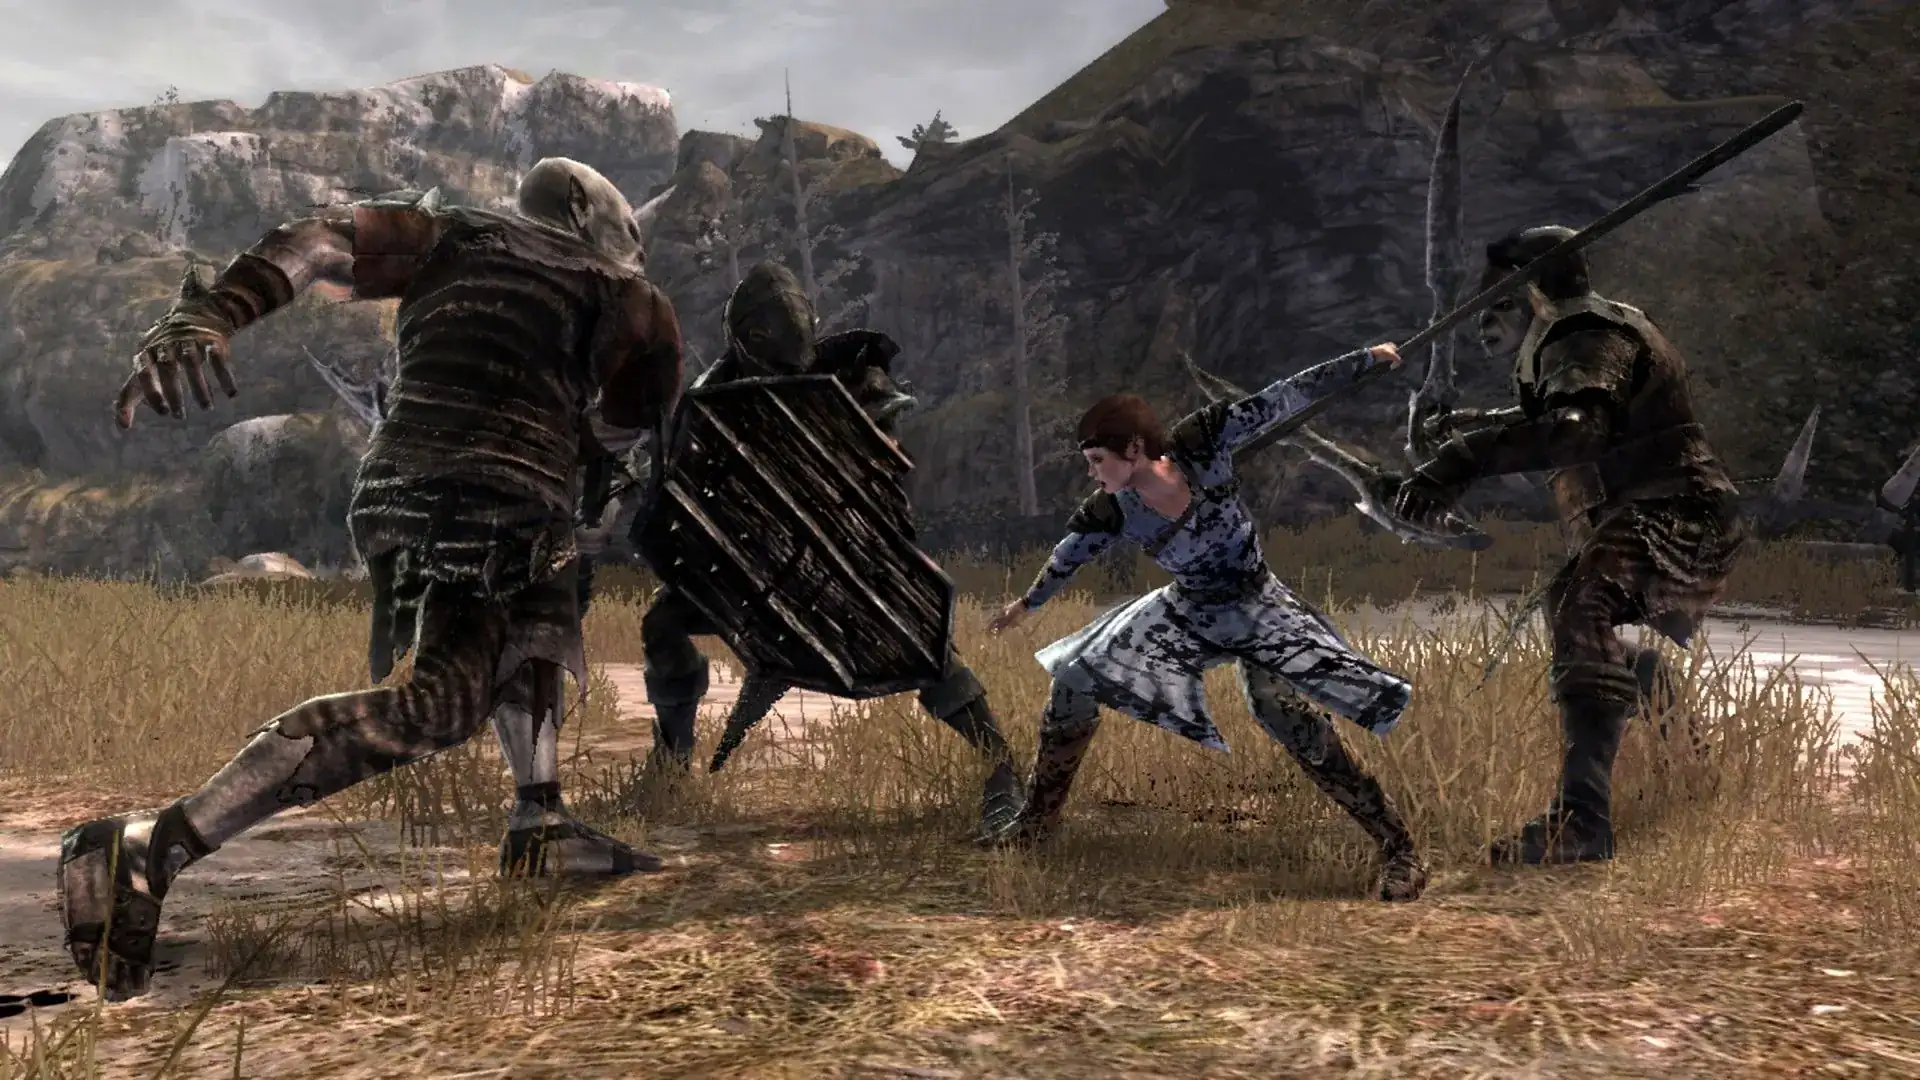
Solo play and co-op priorities
Solo players need to manage attention as much as health. Pick a side of the arena with room to retreat, avoid pulling every enemy into the same corner, and use short attacks while the boss is recovering. If your companion is occupied with a lesser enemy, do not assume that the boss is safely controlled. Watch the target yourself and be ready to interrupt your own damage plan when the tell begins. Consumables and healing are most useful when they restore room to act; using them while surrounded can leave you in the same bad position a moment later.
In co-op, decide who will draw attention and who will clear adds before the fight becomes chaotic. Spread slightly when a move can catch multiple heroes, call out a retreat after a large ground attack, and avoid crossing through the boss to reach a teammate. A downed ally is not always worth a dangerous revive during an active attack. One player can create a safe recovery window first, while another revives or heals. The game supports three playable heroes, but party size and companion behavior depend on the session; adapt these roles to the people actually present rather than assuming a fixed formation.
Preparation without over-grinding
Before a major encounter, check that your currently equipped gear and abilities fit the way you actually play. A front-line hero benefits from a plan for leaving danger, while a ranged or support-focused hero needs a clear firing lane and a fallback when enemies close the gap. The existing classes and weapons guides explain those broader choices. This boss page intentionally does not invent a mandatory level, a guaranteed drop, or a single best build: the cited walkthrough is an older player guide and does not establish those claims for every version or difficulty.
Use a short reset routine after a failed attempt: identify which attack caused the failure, change one behavior, and try again. If a wide attack caught you, widen your spacing. If adds interrupted every approach, clear them earlier. If the boss crossed the arena, stop chasing through hazards and wait for the next readable opening. Changing several pieces of gear and tactics at once makes it harder to learn what solved the problem. Keep a save or checkpoint plan that fits your platform, and do not install unofficial files to solve an ordinary combat difficulty spike.
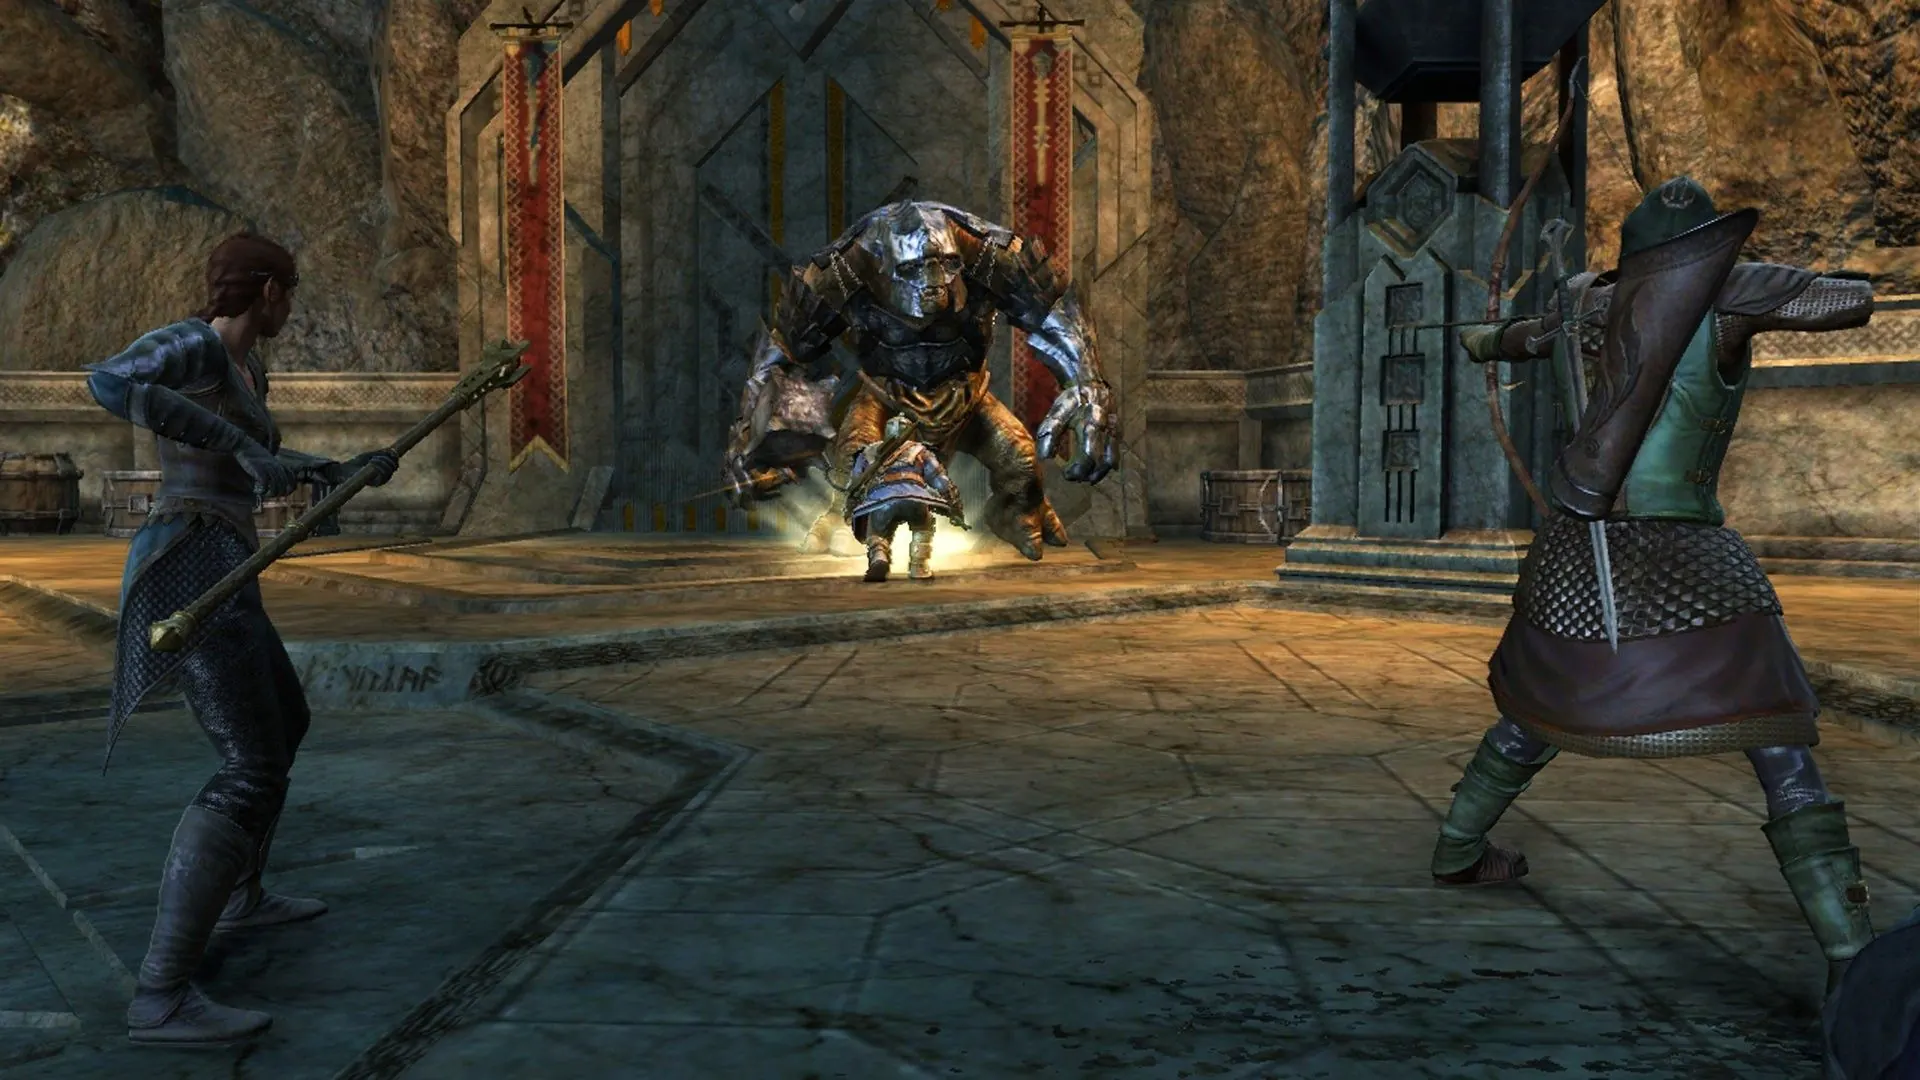
Route scope, Úrgost, and source limits
Not every named character belongs in a conventional boss list. The walkthrough cited here presents Úrgost as a conversation and route choice rather than a guaranteed required battle. That is a useful warning when comparing lists: some pages include story characters, optional fights, elite enemies, or every repeated encounter, while others count only set-piece fights. This guide names Úrgost to answer that ambiguity, but does not label the conversation itself a boss fight or promise that every route and edition behaves identically.
The encounter names and several attack descriptions are cross-checked against a 2011 player-authored PS3 walkthrough and a 2021 community boss montage. The walkthrough is detailed but is neither a current official manual nor a guarantee for all releases. The montage helps identify a sequence of visible encounters, but it does not explain every mechanic. Official Steam screenshots on this page are broad combat context only; they are not claimed to depict the named boss beside them. Where sources do not establish a drop, exact damage value, or universal difficulty order, this guide leaves that detail out.
A practical reset checklist
Before restarting a fight, name the problem in one sentence: “I stayed inside the stomp,” “the spiders kept interrupting,” or “I chased the captain into adds.” Then make one adjustment that directly addresses it. Keep an escape route visible, use a short punish instead of a long greedy chain, and spend a moment watching the next tell. This turns a failed attempt into information rather than a reason to repeat the same exchange with more pressure.
If you are playing with friends, agree on one simple callout for retreat and one for focusing adds. If you are alone, use the same idea internally: create space first, then damage. When the screen is crowded, prioritize a clear camera and safe footing over perfect damage. The tactics here are practical responses drawn from the cited route material and ordinary encounter observation; they are not hidden mechanics or guaranteed exploits. For chapter order and objective progression, continue with the walkthrough checklist linked below.
Community footage: War in the North boss encounters
War in the North bosses: FAQ
How many bosses are in War in the North?
There is no single count that fits every list because recurring Barrow-wights, elite enemies, optional route encounters, and finale phases may be counted separately. This guide groups repeat wight fights and treats the Fire-hammer Troll as part of Agandaûr’s final sequence.
Who are the main bosses in War in the North?
Major named encounters include Tharzog, the Barrow-wight and Barrow-wight Lord fights, Bargrisar, Saenathra, Wulfrun or the Carn Dûm Captain, the Orc-Champion, and Agandaûr. Lists differ because some count repeated wight encounters, elite enemies, route variants, or phases separately.
How do you beat Bargrisar?
The cited PS3 route guide emphasizes his ground attacks and shockwave pressure. Move away from the impact area, wait for the move to finish, then use a short damage window. Do not stay locked into a long attack when the tell begins.
What is the safest approach to Saenathra?
Keep the group from bunching together, watch for her lunge or grapple, and reduce the nearby spider pressure. In co-op, one hero can draw attention while another clears adds; solo players should create space before committing to damage.
Is Úrgost a boss fight?
The 2011 walkthrough used for this guide presents Úrgost as a story conversation and route decision, not a guaranteed standard boss duel. Because versions and route choices can differ, read the encounter in context instead of assuming a fight or a specific outcome.
Is the Fire-hammer Troll a separate boss?
The route material places a Fire-hammer Troll phase within the Agandaûr finale. Some player lists may count phases or notable enemies separately, but this guide treats it as part of that final sequence rather than adding it to the main encounter count.
Are these tactics confirmed for Legacy Edition?
The named encounter notes come from older original-version player material, not an official Legacy Edition combat manual. They are useful tactical starting points, but animation timing, platform controls, and session conditions may vary. Verify the tell in your own game before relying on a precise timing claim.
Sources and verification boundaries
The route details below are attributed to their source type. Community walkthroughs and videos help identify encounters, while official Steam media is used only as contextual artwork.
- GameFAQs: 2011 PS3 walkthroughPlayer-authored encounter and route notes; platform-specific historical source.
- Global Gaming: all-bosses montage (2021)Community video used to check the visible encounter sequence; not official footage.
- Official Steam store mediaOfficial store screenshots used as general combat and party context, not named-boss evidence.